Fractal Architect 3 Help Index
Applies to:FA 3DFA 3D-AV
Fractal Architect can cross-breed fractals to create yet more fractal varieties.
Reference: Cross Breeder Editor
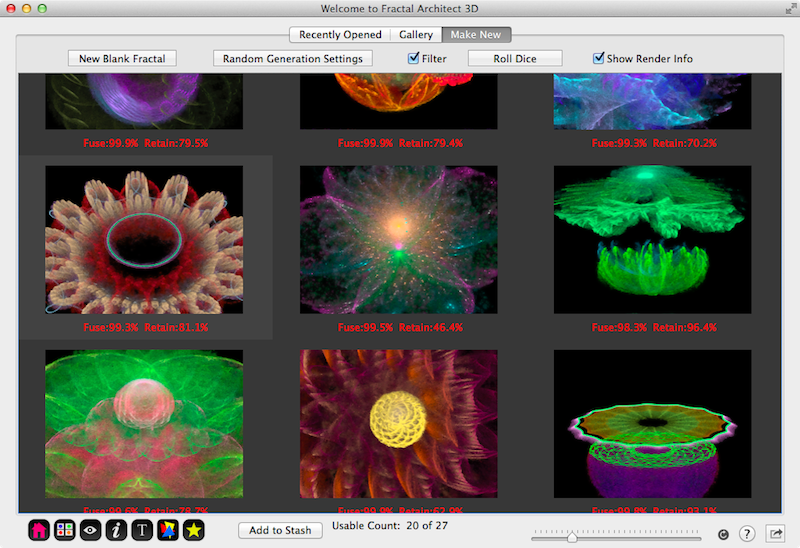
Create a batch of new random fractals by first following the Random Fractals Tutorial.
Click on one of the fractals to select it. Open the context menu by clicking the right mouse button. Choose the View Selected Frame in Preview… menu item. (Or you can use the return key combination to open the Preview window for the selected fractal.)
Click on this button: in the Button bar.
The Cross Breeder page will open. The left keyframe will be pre-populated with the fractal you had selected in the previous step.
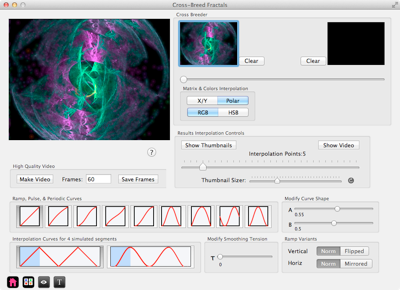
Next either 1) Drag & drop another fractal onto the right keyframe slot or 2) use copy & paste to paste another fractal onto the right keyframe slot.
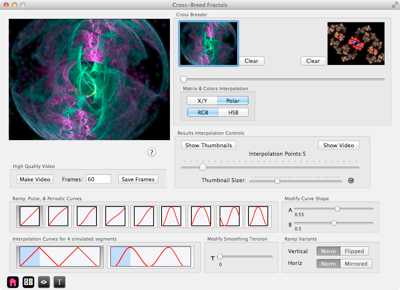
The slider can be used to quickly scrub the interpolation range to see if the cross breeding will produce a good or poor animation.
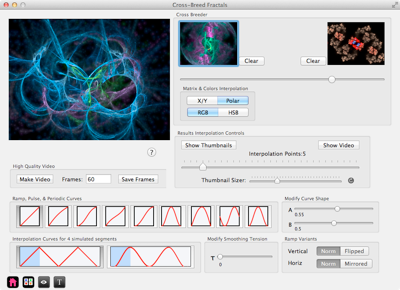
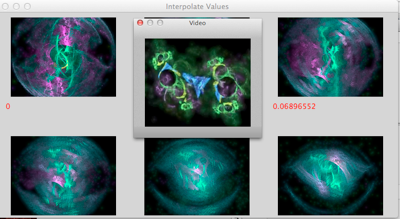
Another way to see the animation quickly is to use the interpolator. It will show the cross breeding across a sequence of thumbnails and can even show a little video using those same thumbnails.
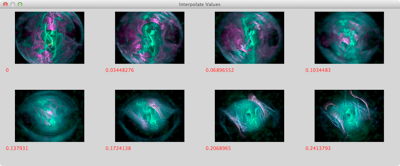
First use the slider to set the number of Interpolation points, say 30.
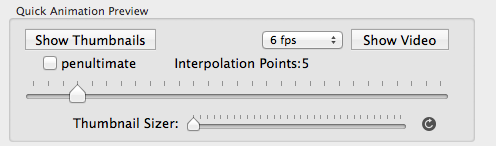
Next click on the Show Thumbnails button.
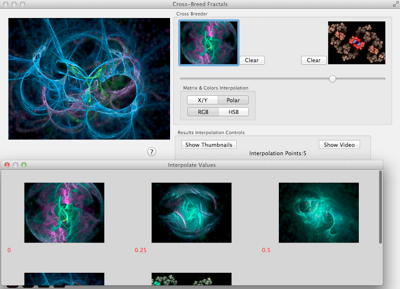
This just shows the first of the 30 interpolated thumbnails.
Next click on the Show Video button to see a video using all 30 thumbnails.

Use the slider to adjust the cell size for each thumbnail. Click on the redraw button to rerender the thumbnails at the new size.
Each variant thumbnail has a context menu allowing you to:
If you like the animation, why not create a good high quality video that you can show your friends or post onto YouTube.
Lets say you want to make a 10 second video showing at 30 frames a second. Then you need 10X30 or 300 frames in your video. Set the Frames text field to 300 as shown here:

Click on the Make Video button and select the size of your video (how big it is). Select a framerate of 30 frames a second. Then click the Render! button..
Note: Make Frames is an alternative that will just create PNG image files for each video frame. You would need to use: File > Convert Image Sequence to Movie afterwards to create the video.
The big advance of creating a folder with PNG images in it, is lower memory consumption versus making a video directly (which save the video frames in memory).
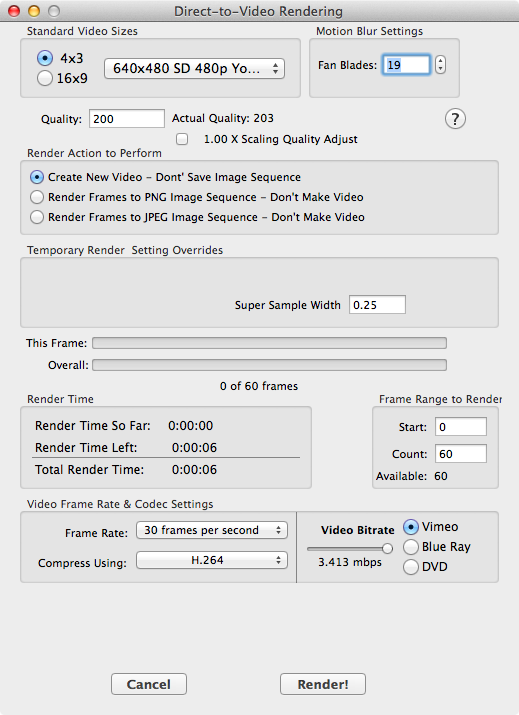
This will take a while to finish. Its totally dependent on the speed of your Mac. Of course, if your Mac supports it, using the OpenCL GPU renderer will take less time.
As this is a tutorial, you can press the Cancel button to cancel the render, instead of rendering the full video.
See also:Interpolation Curve Controls for details on the various curves.
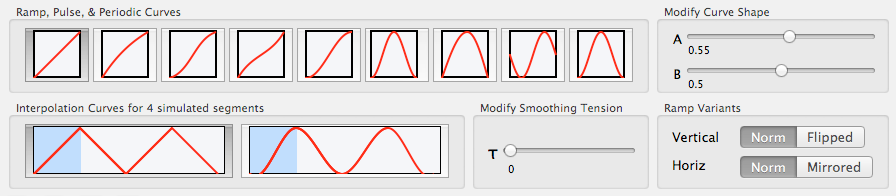
The curves show the amount of interpolation, from 0 at the bottom, to 1 at the top. (The range is always 0 to 1 for cross breeding.). A value of 0 represents the full right keyframe. A value of 1 represents the full left keyframe. The left side is represents the slider at its full left position. Similarly the right side is the slider at its full right position.
Its best to use the interpolator with the maximum 30 thumbnails to see the effect of the curves.
Drag the sliders for the A and B parameters to see the effect they have on the curve shapes.
The buttom graphic allows you to specify in addition Spline smoothing of the interpolation curve.